I’ve been teaching an evening class at the Oregon State University Craft Center in “3D modeling and printing.” I don’t know a ton about this topic, to be honest. But I know a little more than I did a year ago, and it was hard-earned knowledge. Why not share it?
At OSU it seems like I can’t walk out the door without bumping into a 3d printer (and students and faculty get access to them), but I found very little in-person information about how to do basic 3d design. There are a ton of tools and tutorials online, but for a while I struggled to find the right ones. Many of the “professional” tools (like AutoCAD and Blender) have very steep learning curves. This post covers some of the more accessible software I found. Because I teach at the craft center in a computer lab, I wasn’t keen on installing lots of software, so I especially sought out free, web-browser-based tools.
By the way: the most common format for 3d-models (at least those used for 3d printing) is STL (for “stereolithography”). Fortunately most tools can both import and export STL files, so it’s entirely possible to create a model in one piece of software, and import it into another to continue working.
Tinkercad.com
I love TinkerCAD! This web-based tool lets one combine basic 3d shapes (boxes, cylinders, cones, etc.) into more complex models. When you sign up, there is a short tutorial sequence on using it, which I highly recommend.
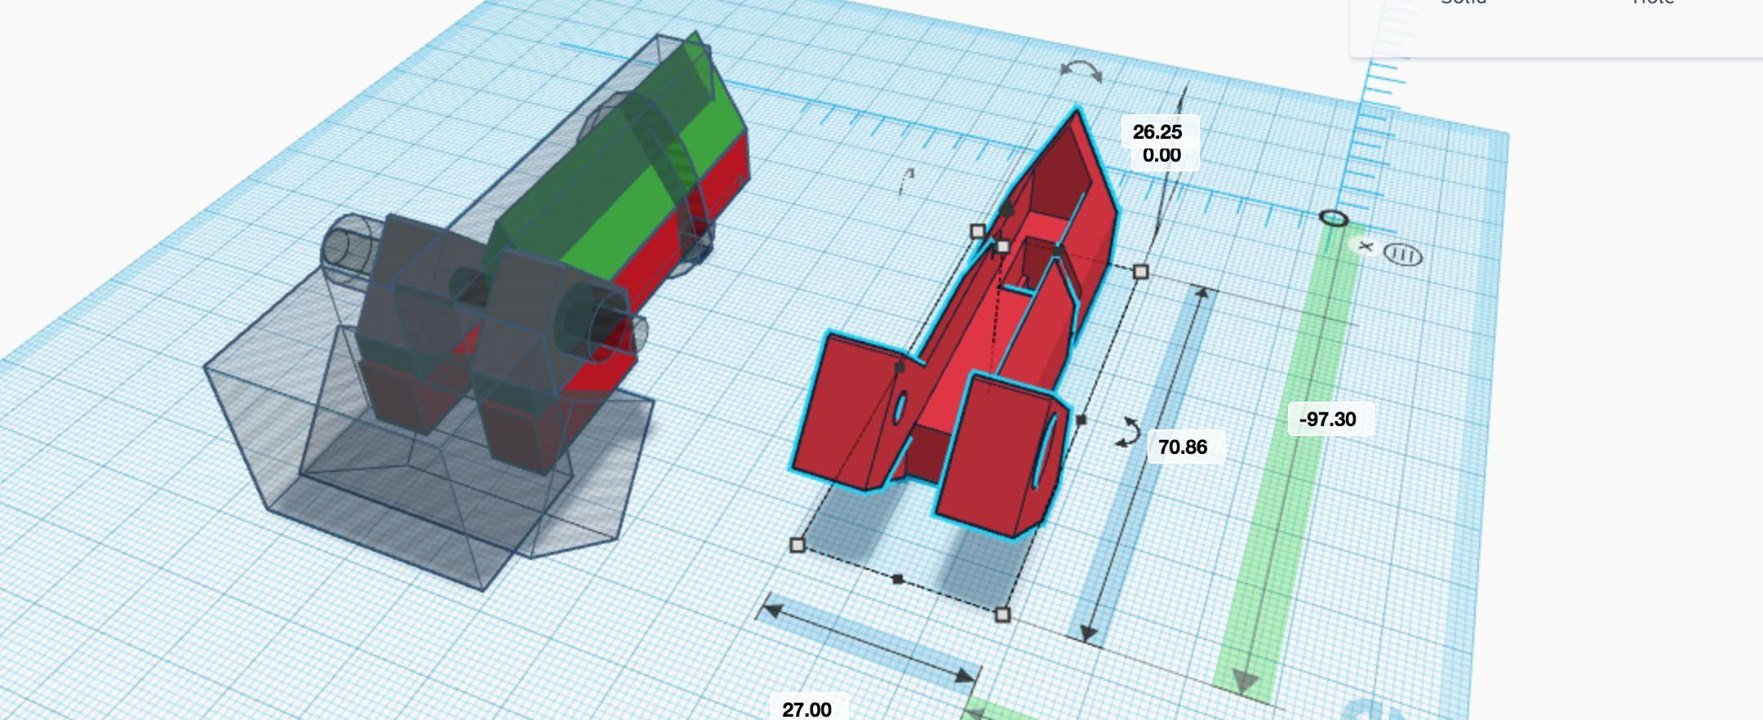
Some TinkerCAD features I particularly like:
-
3D objects can be “grouped” to make them into single units. These units can then be grouped with others, and so on, for modular building.
-
3D objects (whether a single primitive shape, or a grouped unit) can be made into “holes,” essentially “anti-objects” that carve out of other objects when they are grouped together. (The screenshot above shows a grouped and ungrouped version of the same object.)
-
Because 3d objects are built from other 3d objects (rather than planes or points as with some other tools), it’s nearly impossible to make a “broken” 3d object that isn’t a proper manifold.
-
The copy/paste “smart duplicate” feature is pretty powerful, letting you make a copy of an object, move it, scale it, rotate it, and then repeat the process. A bit more info on this here.
-
The ruler and working plane tools are a bit clunky, but do a good job of letting me make precise (down to 0.01 mm) placements and sizes. The “align” tool works well to align or center sets of objects along an axis.
The major downside of TinkerCAD compared to some other tools is it’s relative inflexibility. Some tools allow dragging a single corner (vertex) to a new location, for example, but this isn’t possible in TinkerCAD. The “snap to” of the tools snaps to the overall grid, rather than other objects, which is annoying. The align tools helps with this somewhat.
TinkerCAD does have a “shape generator” section, which allows users to code (in javascript) parameterized widgets that others can use via the GUI. There are some cools ones available for things like gears of various sizes. After briefly peeking at the programming interface, I think other programmatic interfaces to 3d design are a better option (I’ll cover those later).
SculptGL
SculptGL is another in-browser software for 3d modeling, but this one is all about sculpting “digital clay.” Fascinatingly, this very polished software seems to be a personal project of a single person, Stephane Ginier.
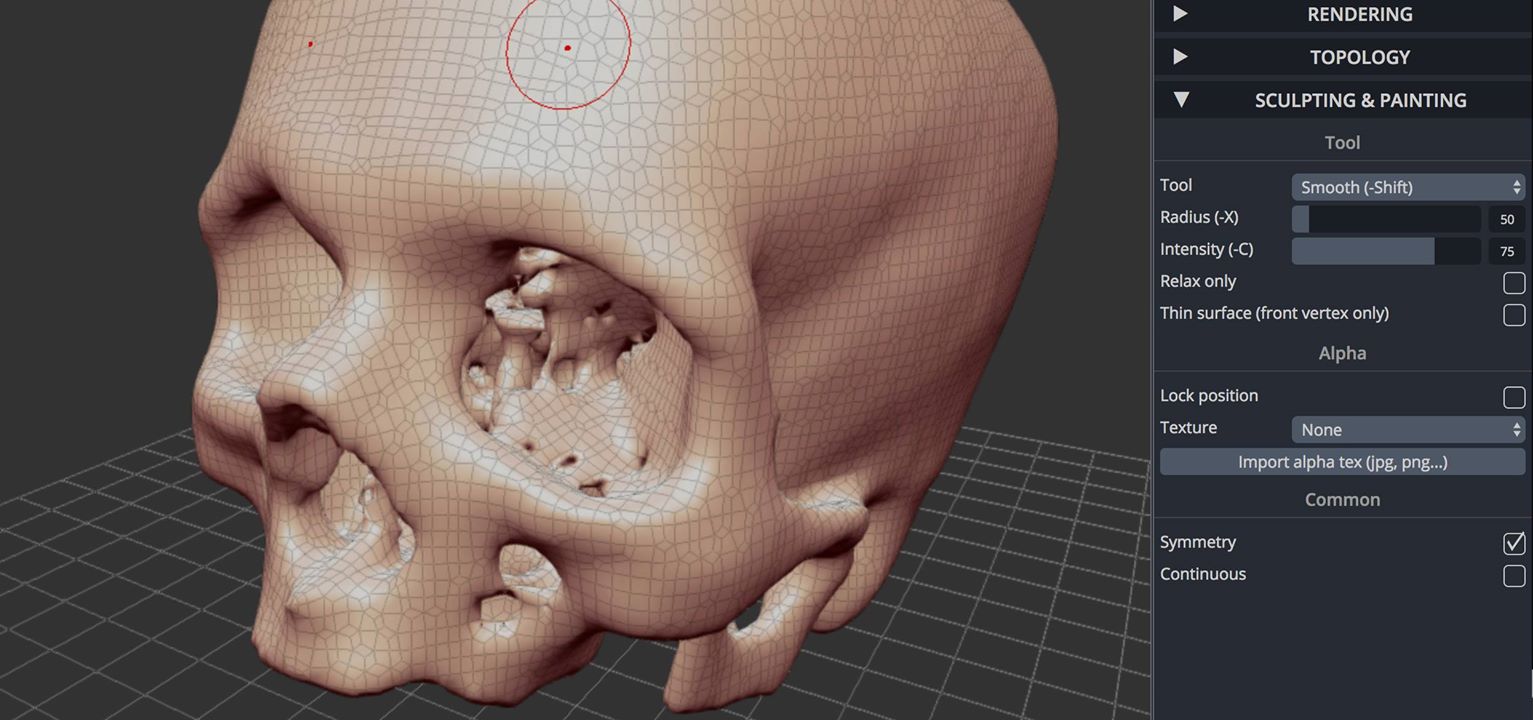
There is definitely an artform to using ScupltGL effectively, one that I am far from mastering. One of my students has done some pretty remarkable things however, and she seems to use the “drag” and “smooth” tools most frequently, with many small adjustments accumulating over time.
SculptGL and TinkerCAD import and export STL files, so I have had some success designing rough shapes in TinkerCAD (e.g. some cylinders for a persons torso, arms, and legs, and a sphere for the head) and then sculpting them into more organic shapes in SculptGL. Conversely, organic shapes sculpted in SculptGL can be imported into TinkerCAD to add geometric shapes (e.g. a base or other accessories for a figure).
Aside from the skill it takes to sculpt well, occasionally I have troubles with the “mesh” that makes up the model (thin gray lines defining the surfaces above). You can “remesh” to different mesh densities, but if the mesh is very dense overall, it slows down my browser considerably. There is an “adaptive meshing” option, where the mesh density is increased only in areas where detail is added. But so far, I haven’t found a way to increase or decrease the mesh density locally without adjusting the model–occasionally a weird corner will start to develop and I’d just like to lower the mesh density there. The “flatten” and “smooth” tools help in this case by reducing detail, rather than adjusting the mesh directly.
3DPrinterOS
After a 3d model has been created, it needs to be prepared for printing on a 3d printer, by computing the path that the print nozzle will take. This is known as “slicing,” since 3d printers lay down plastic in layers from top to bottom, and each layer becomes a slice.
We don’t have a 3d printer at the Craft Center (we’re sending our STL files to the library, where there are some printers), so this isn’t really required for our purposes. Still, I think having some familiarity with slicing and the various options that can be set is useful.
Most of the standard slicers (e.g. Cura, Slic3r) are desktop software, but 3DPrinterOS provides some web-based slicing tools that can import STL files and visualize the resulting g-code (the files that specify 3d movements for the printer; also Snoop Dogg’s preferred programming language.)
(Update: I’ve been using Cura with my personal printer, and I’ve been meaning to try out Slic3r.)
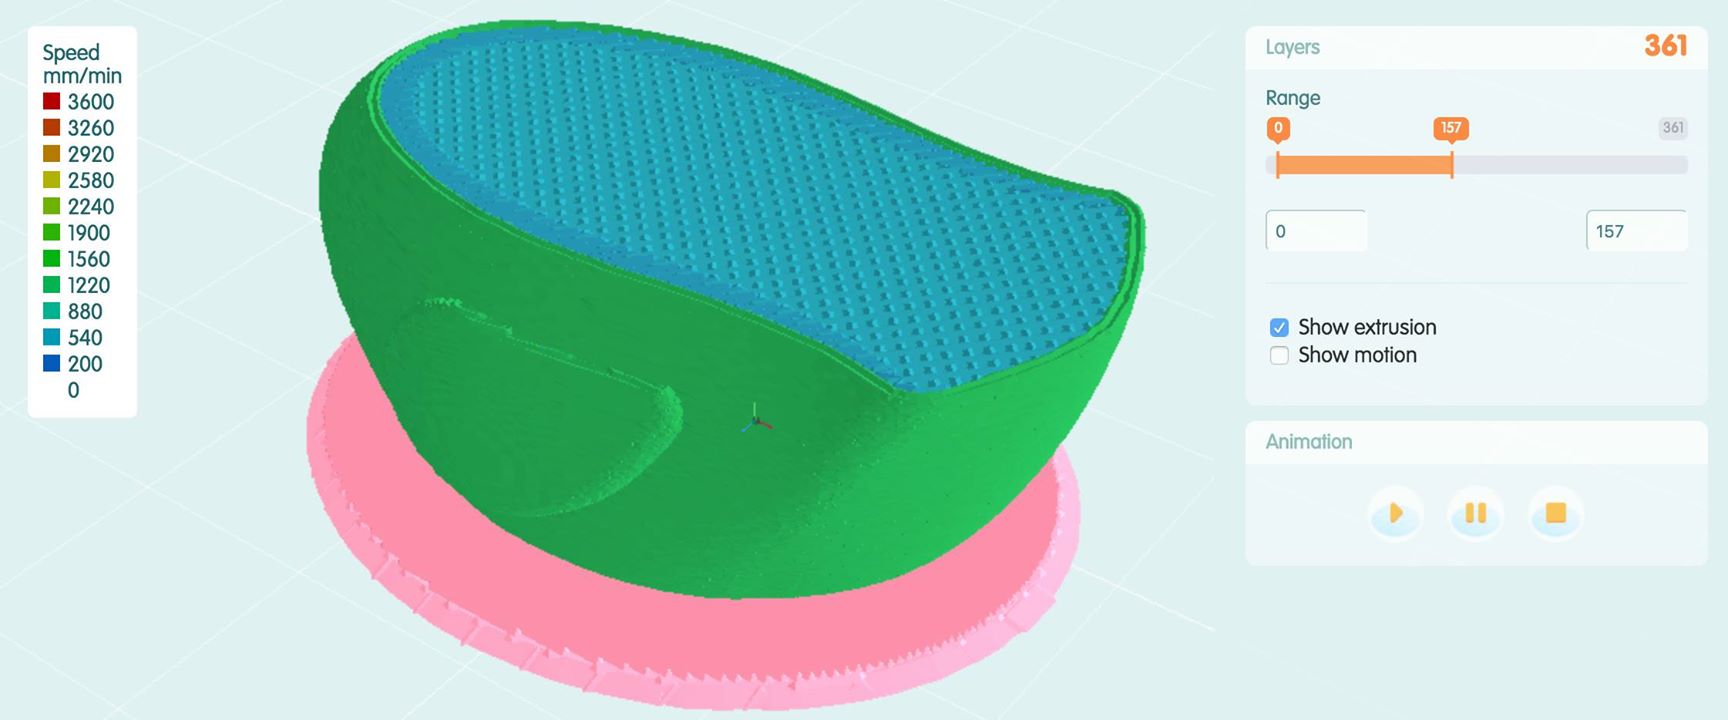
3DPrinterOS is a company that sells their suite of web-based tools for managing multiple printers, and includes other tools for managing STL files as well, but I haven’t explored those.
OpenJSCAD
I’m always keeping an eye out for things I can program. Why do work when I can get the computer to do it for me? Initially I thought that TinkerCAD’s programming interface would be a nice way to go, but it’s clunky and low-level, lacking in functions to create basic shapes and put them together, instead requiring working with triangulated meshes of points. I hope to see improvement here in the future: some of the nicer features of TinkerCAD are recent additions, and the graphical interface certainly focuses on mixing and matching 3d primitives.
In the meantime, I ran across OpenJSCAD, an in-browser, javascript-based port of the OpenSCAD language.
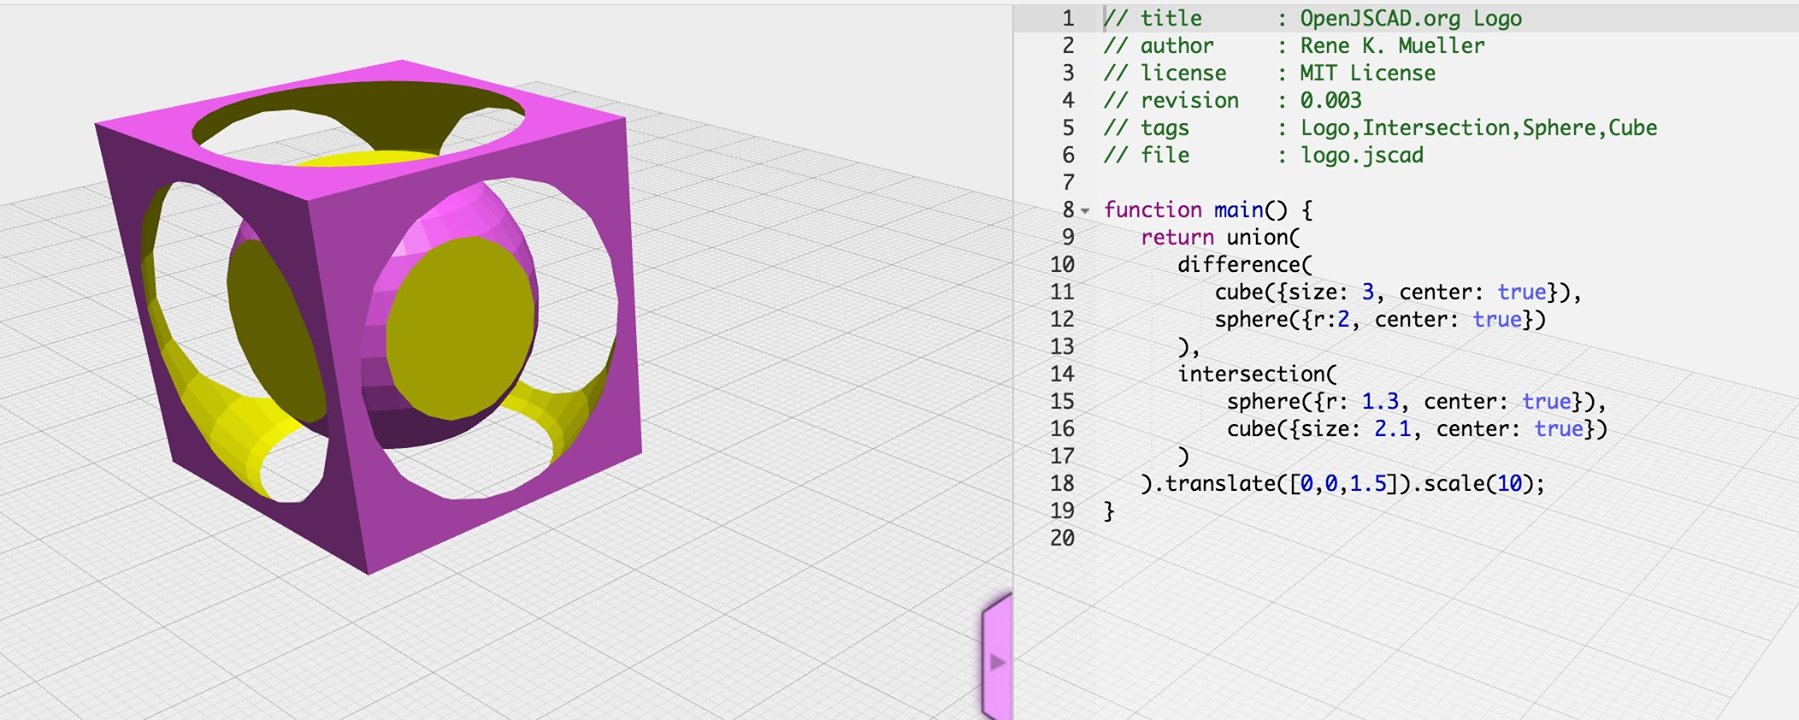
I had never heard of the desktop-based OpenSCAD before, and frankly I’m a little glad for OpenJSCAD, since I’m already familiar with javascript. There appears to be a large OpenSCAD community, and a good number of people also working with OpenJSCAD.
I’m just beginning, and it is taking some time get familiar with the philosophy of these tools, where the standard operation is to draw an object and translate/rotate it into place. I’m more familiar tools like p5.js (in 2d), where it is more common to translate & rotate the entire coordinate system, and then draw objects. There aren’t built-in facilities for that in OpenSCAD or OpenJSCAD (that I can see, though technically I could write some). I also wish there was built-in support for polar coordinate translations. As it is, brushing up on trigonometry might be in my future.
The first benefit of Open(J)SCAD is programmability–writing code is a powerful to make complex shapes, and then reuse the code over and over again in different ways. Another nice feature of OpenJSCAD is that it’s javascript, so it should be reasonably easy to incorporate any number of thousands of javascript libraries. (3d Voronoi cells? Why not?)
Finally, Open(J)SCAD includes some really neat built-in features that just aren’t in TinkerCAD (yet), like hull and chain hull.
BlocksCad
This is a really new one (as of this year). I’m excited about it and hope it goes somewhere! As much as I like coding, I realize it’s not everyone’s cup of tea. BlocksCAD produces OpenSCAD code (using OpenJSCAD in between I believe) via the Scratch interface, which was developed for introducing kids to coding. The end result is a pretty intuitive way of developing programmatically-defined 3d-shapes:
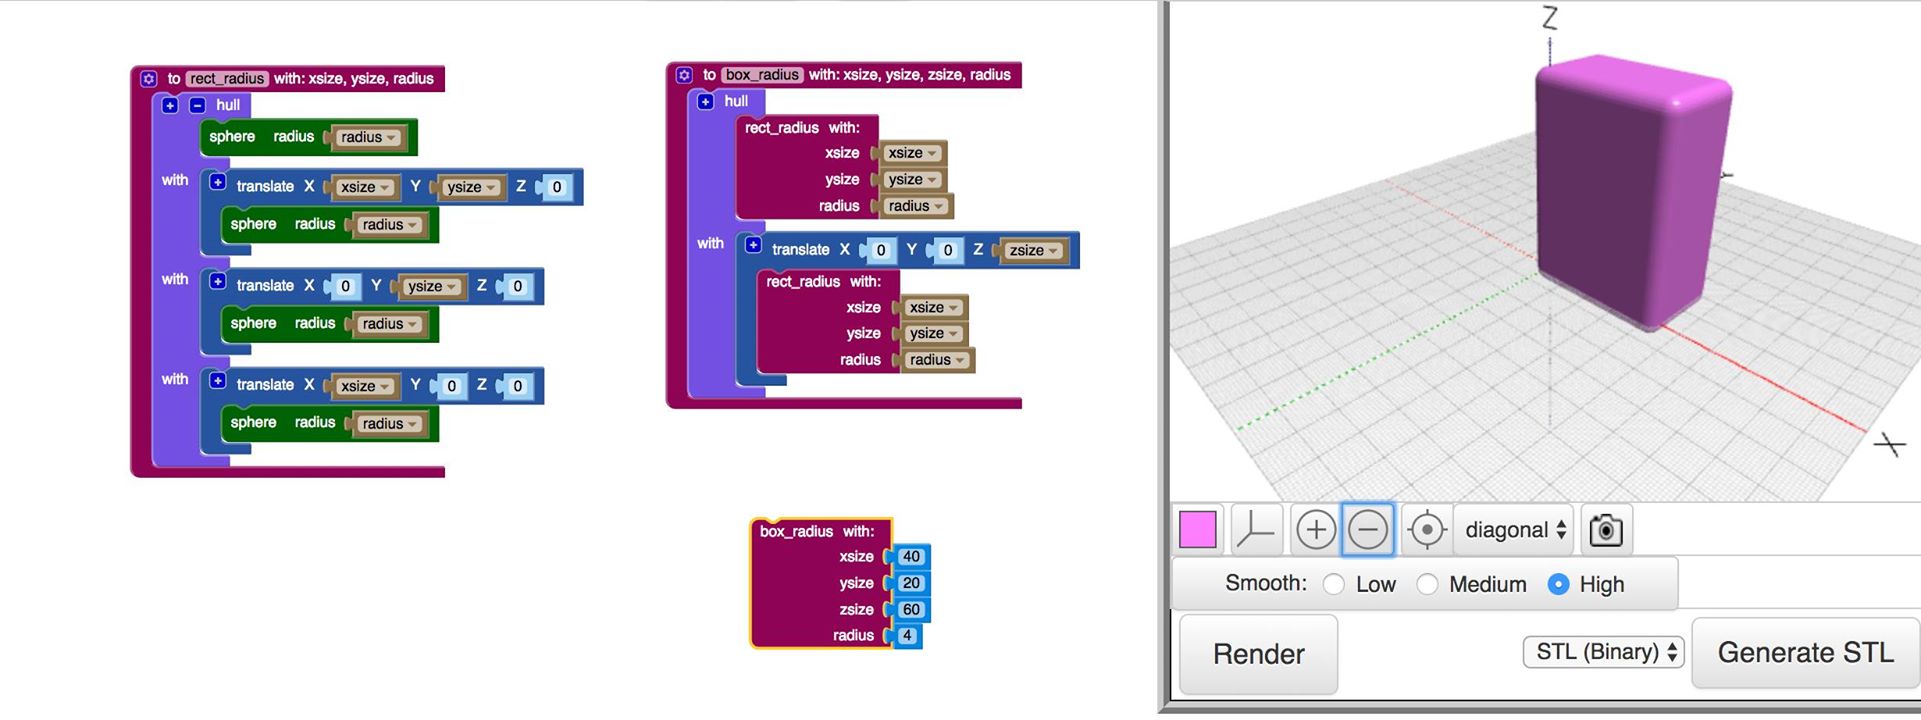
The interface still has some rough edges (and I had to learn a bit about Scratch). Still, I can see how it will be a useful item in the toolbox, particularly for those who want some of the power of OpenSCAD for complex parts that can then be imported into other software. (Weird aside: BlocksCAD started life as a DARPA-funded project.)
